How to design a contract with the Contract Designer
 Roy de Kleijn · · 2 min read
Contract testing usually starts from a live API: you record what it returns and pin that. The Contract Designer flips the order. You describe the contract first, before any endpoint exists, and that description becomes the artifact the consumer develops against and the provider is later verified against.
1. Open the Designer
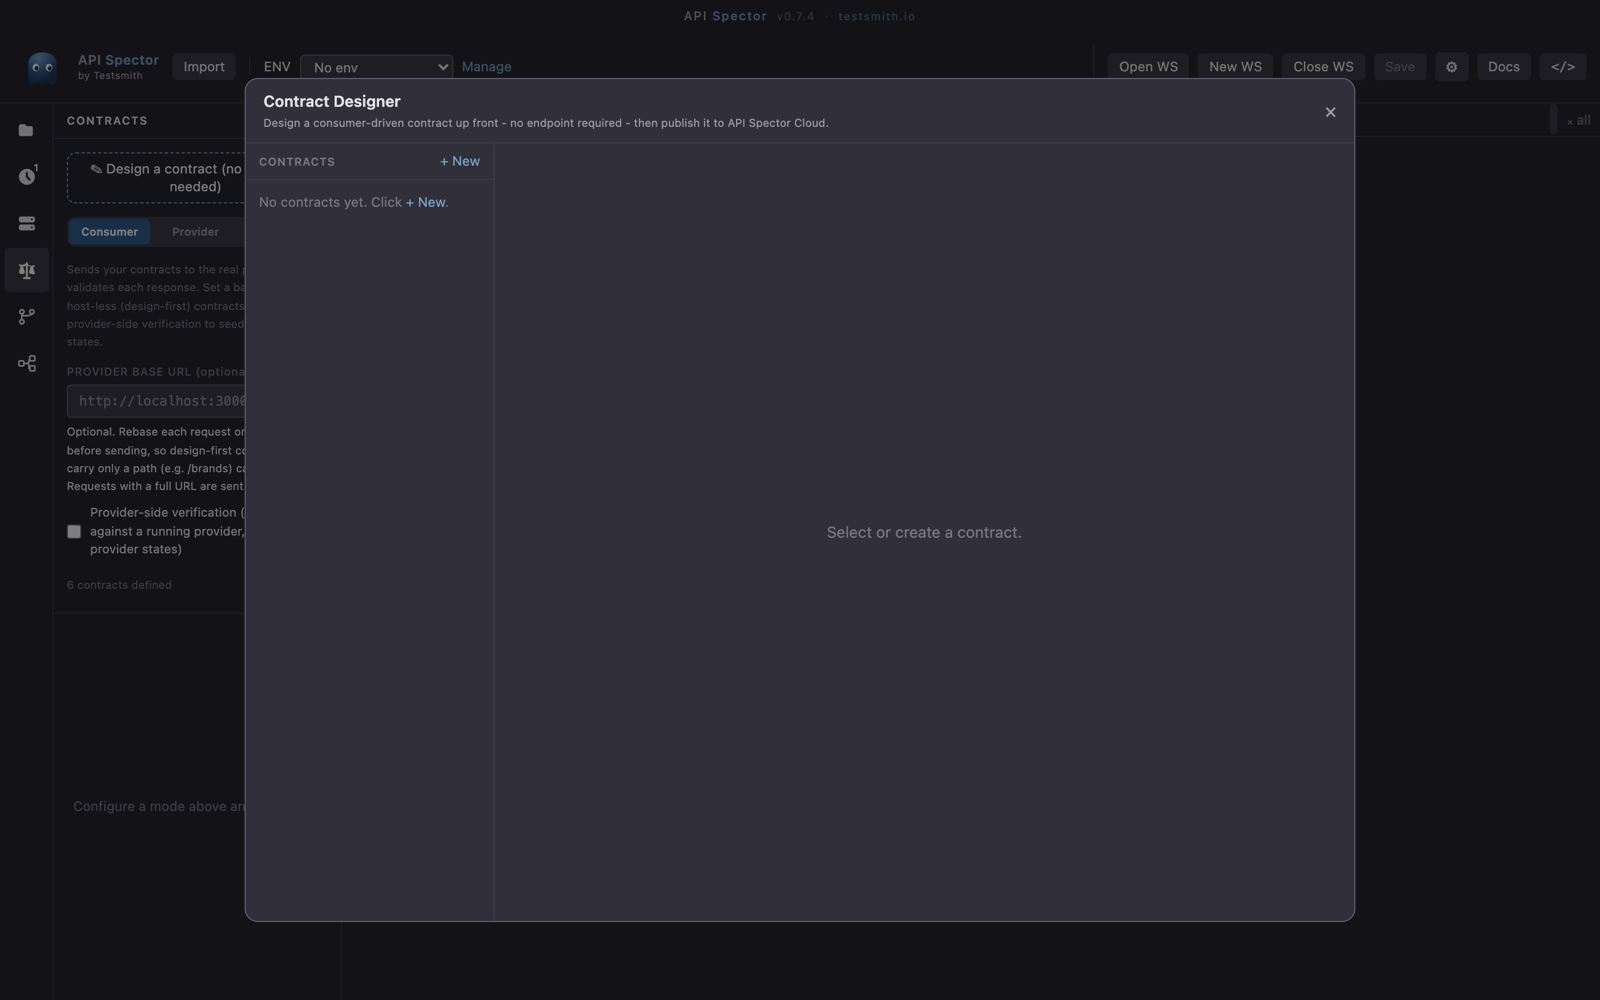
From the Contracts panel, open the Contract Designer. Click + New to start a consumer-driven contract.
2. Name the pacticipants
Set the Consumer and the Provider: who makes the calls, and who must satisfy them.
3. Describe the interactions
For each interaction, write a short description, an optional provider state (data the provider must have set up, for example "products exist"), the request (method and path, headers, optional body), and the expected response (status and body).
4. Match by type, not value
Leave Match a JSON example by type on, which is the recommended default. The example body you give is matched by shape, so string stays string and the array stays an array, rather than by exact values, so the contract tolerates real data. Turn it off when you need to pin an exact value.
5. Generate a mock, save, or publish
From the Designer you can:
- Create mock - turn the contract into a mock the consumer can develop against straight away.
- Save to workspace - store it with the workspace; it compiles to a Pact v3 document.
- Publish to Cloud - send the contract to API Spector Cloud for the provider to verify.
Why it matters
Designing the contract first means the consumer and provider agree on the shape before a line of the endpoint is written. The same document drives the consumer's mock and the provider's verification, so the two sides cannot drift apart without a check failing.