How to use the built-in Git client in API Spector
 Roy de Kleijn · · 2 min read
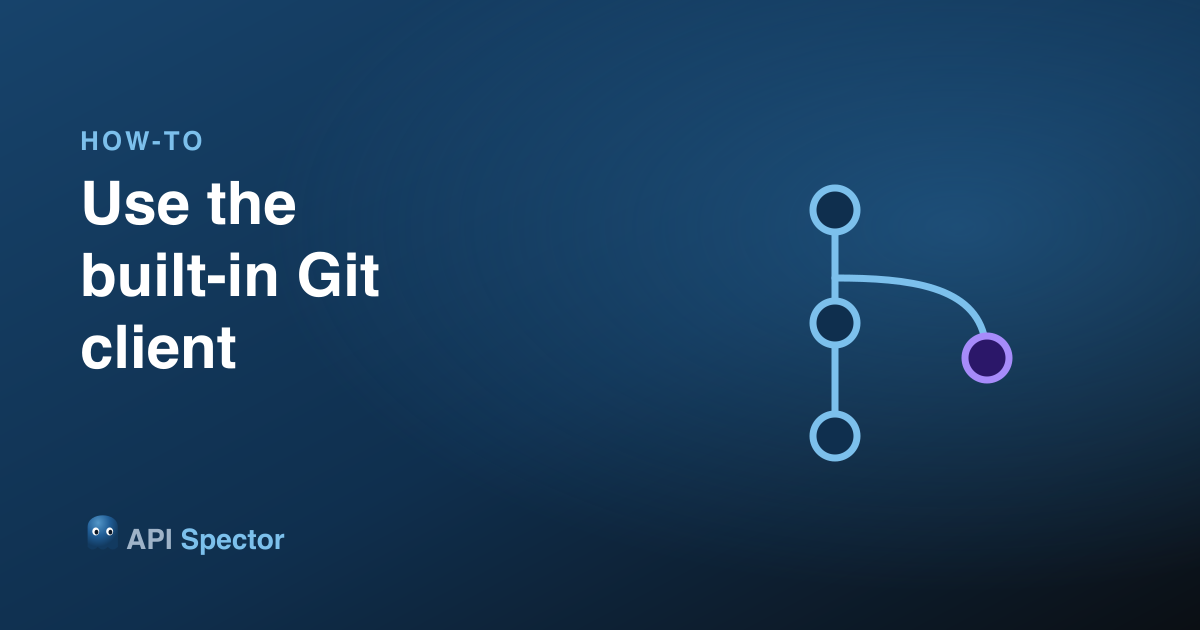
API Spector keeps your collections, environments, and mocks as plain files in a workspace folder. That means a workspace is just a Git repository, and API Spector has a Git client built in so you can review, commit, and push without leaving the app.
1. Open the Git panel
Click the Git icon in the sidebar. If the workspace folder is not a repository yet, the panel offers a git init button to create one. Once it is a repo you get four tabs: Changes, Log, Branches, and CI.
2. Review and stage changes
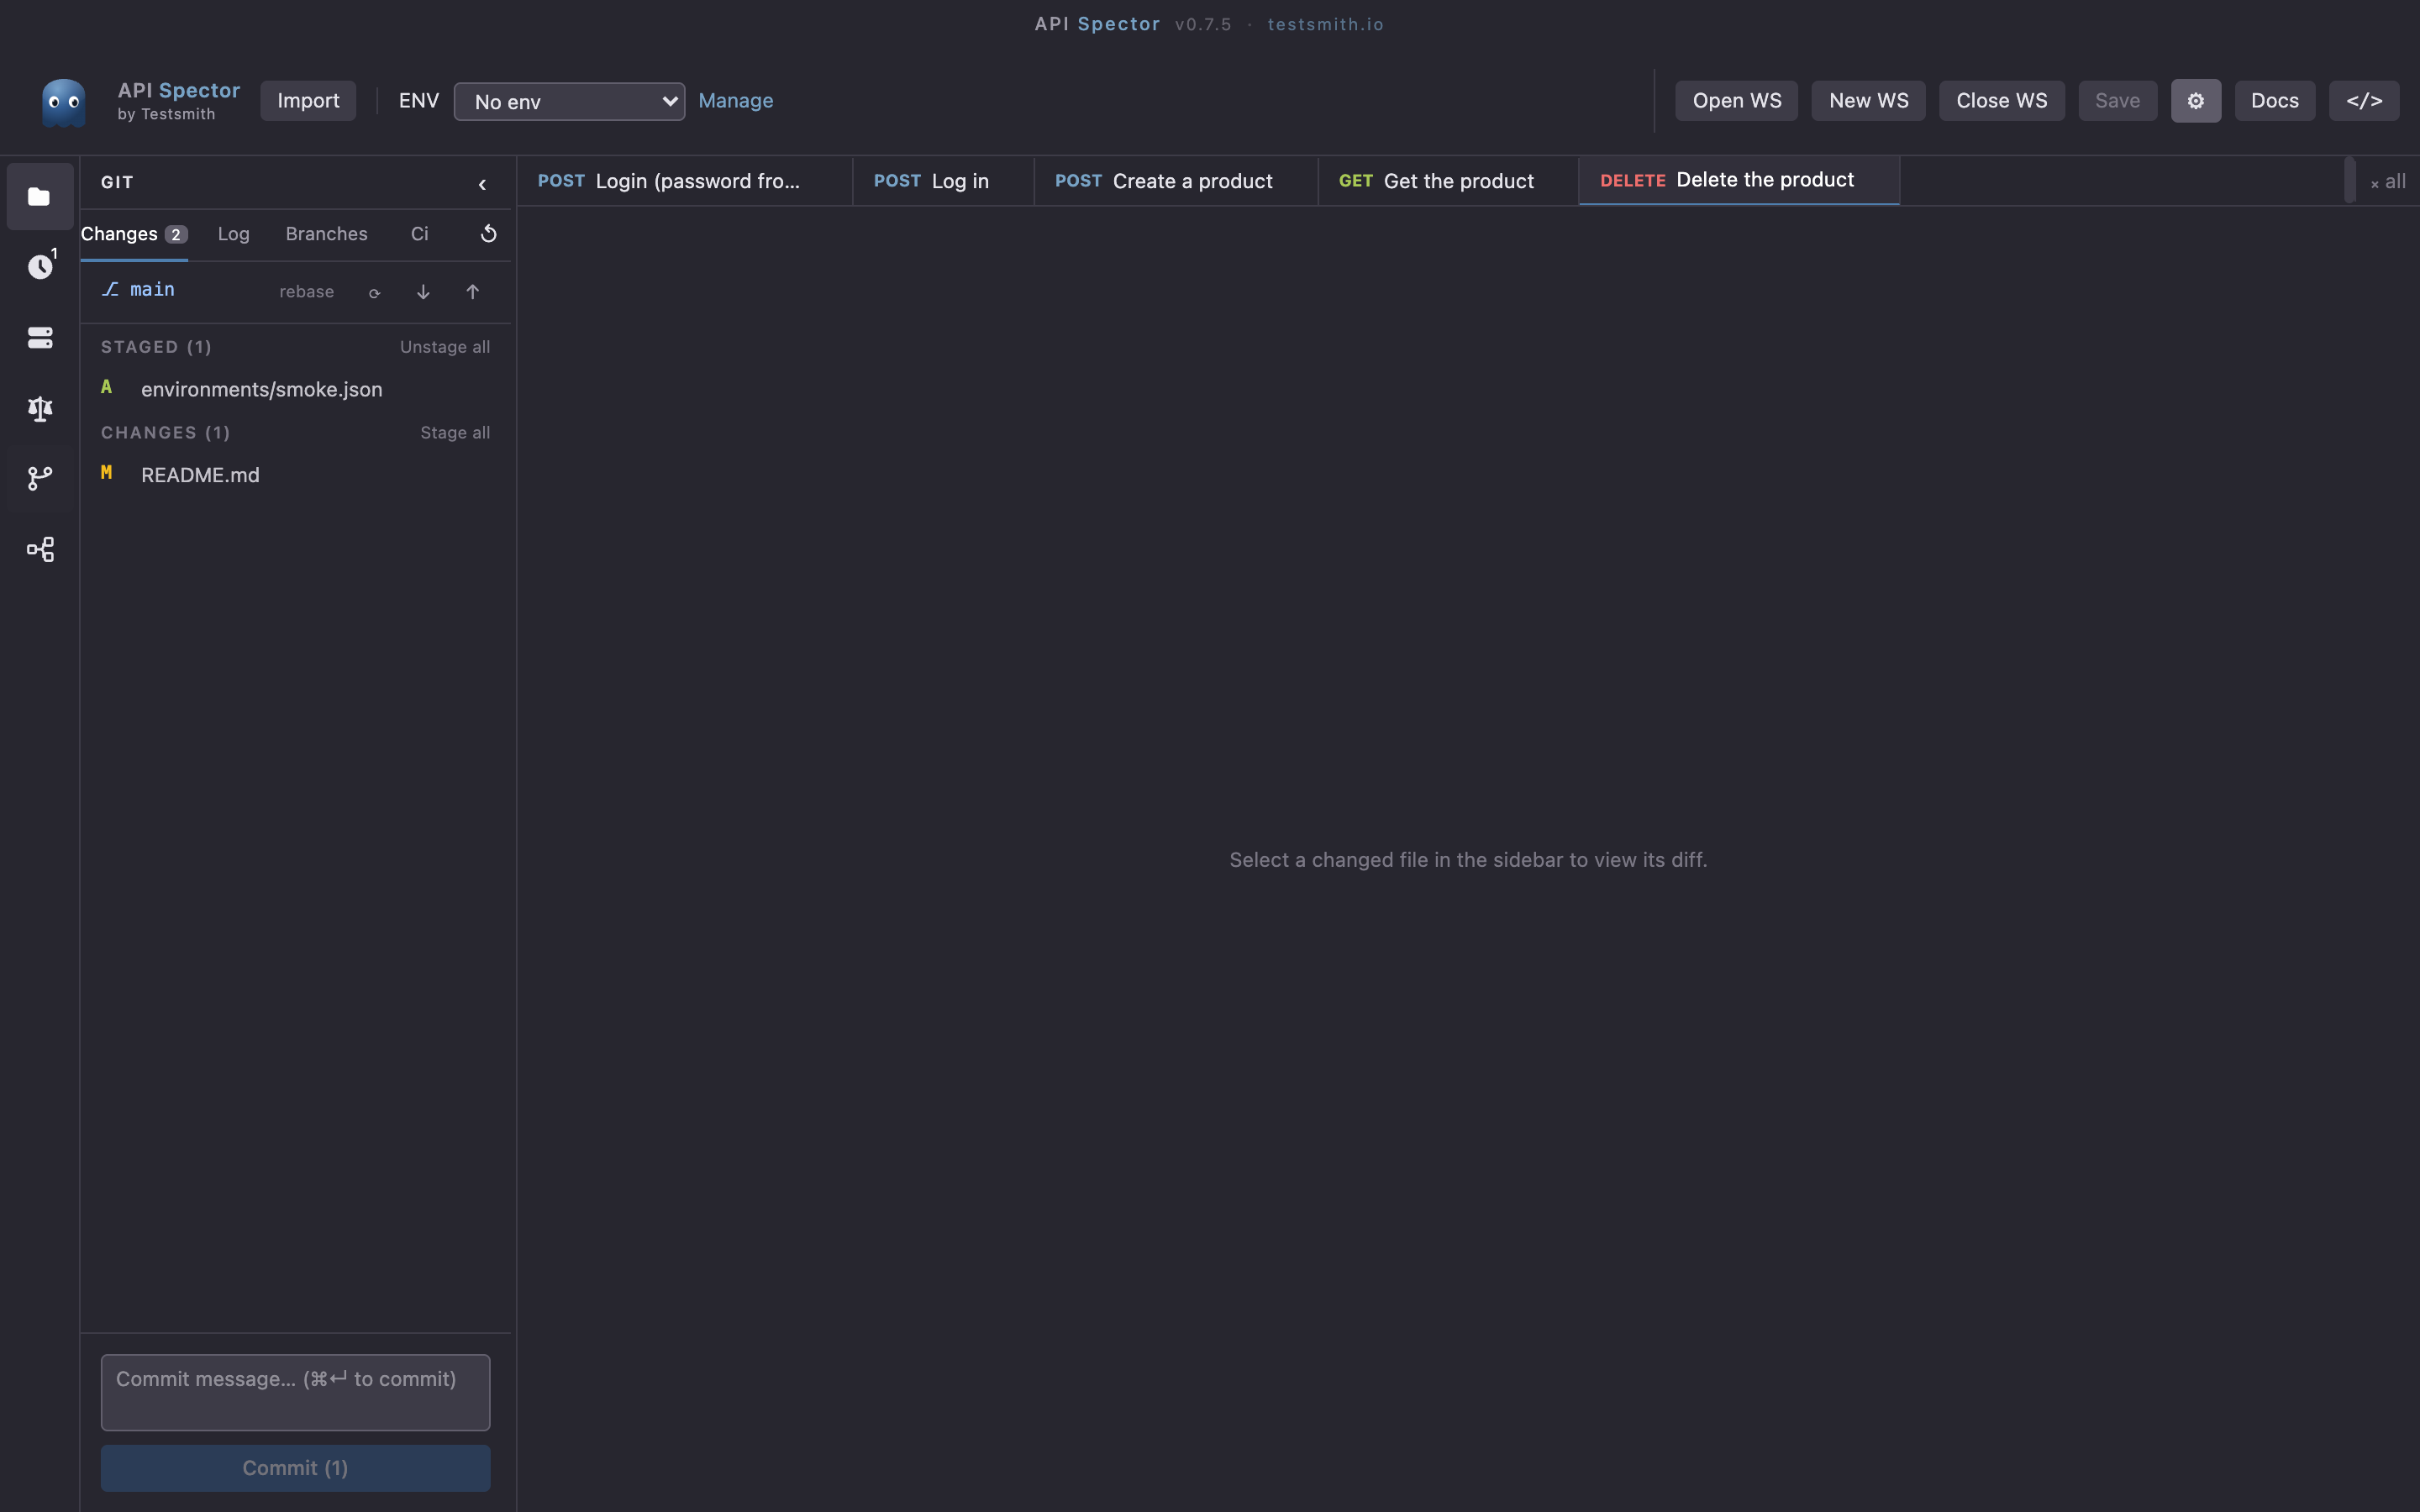
The Changes tab lists what you have touched, split into Staged and unstaged Changes (with untracked files). Stage a file, stage everything, or unstage, while the bar at the top shows the current branch with Fetch, Pull, and Push (Push offers to set the upstream the first time).
3. See the diff
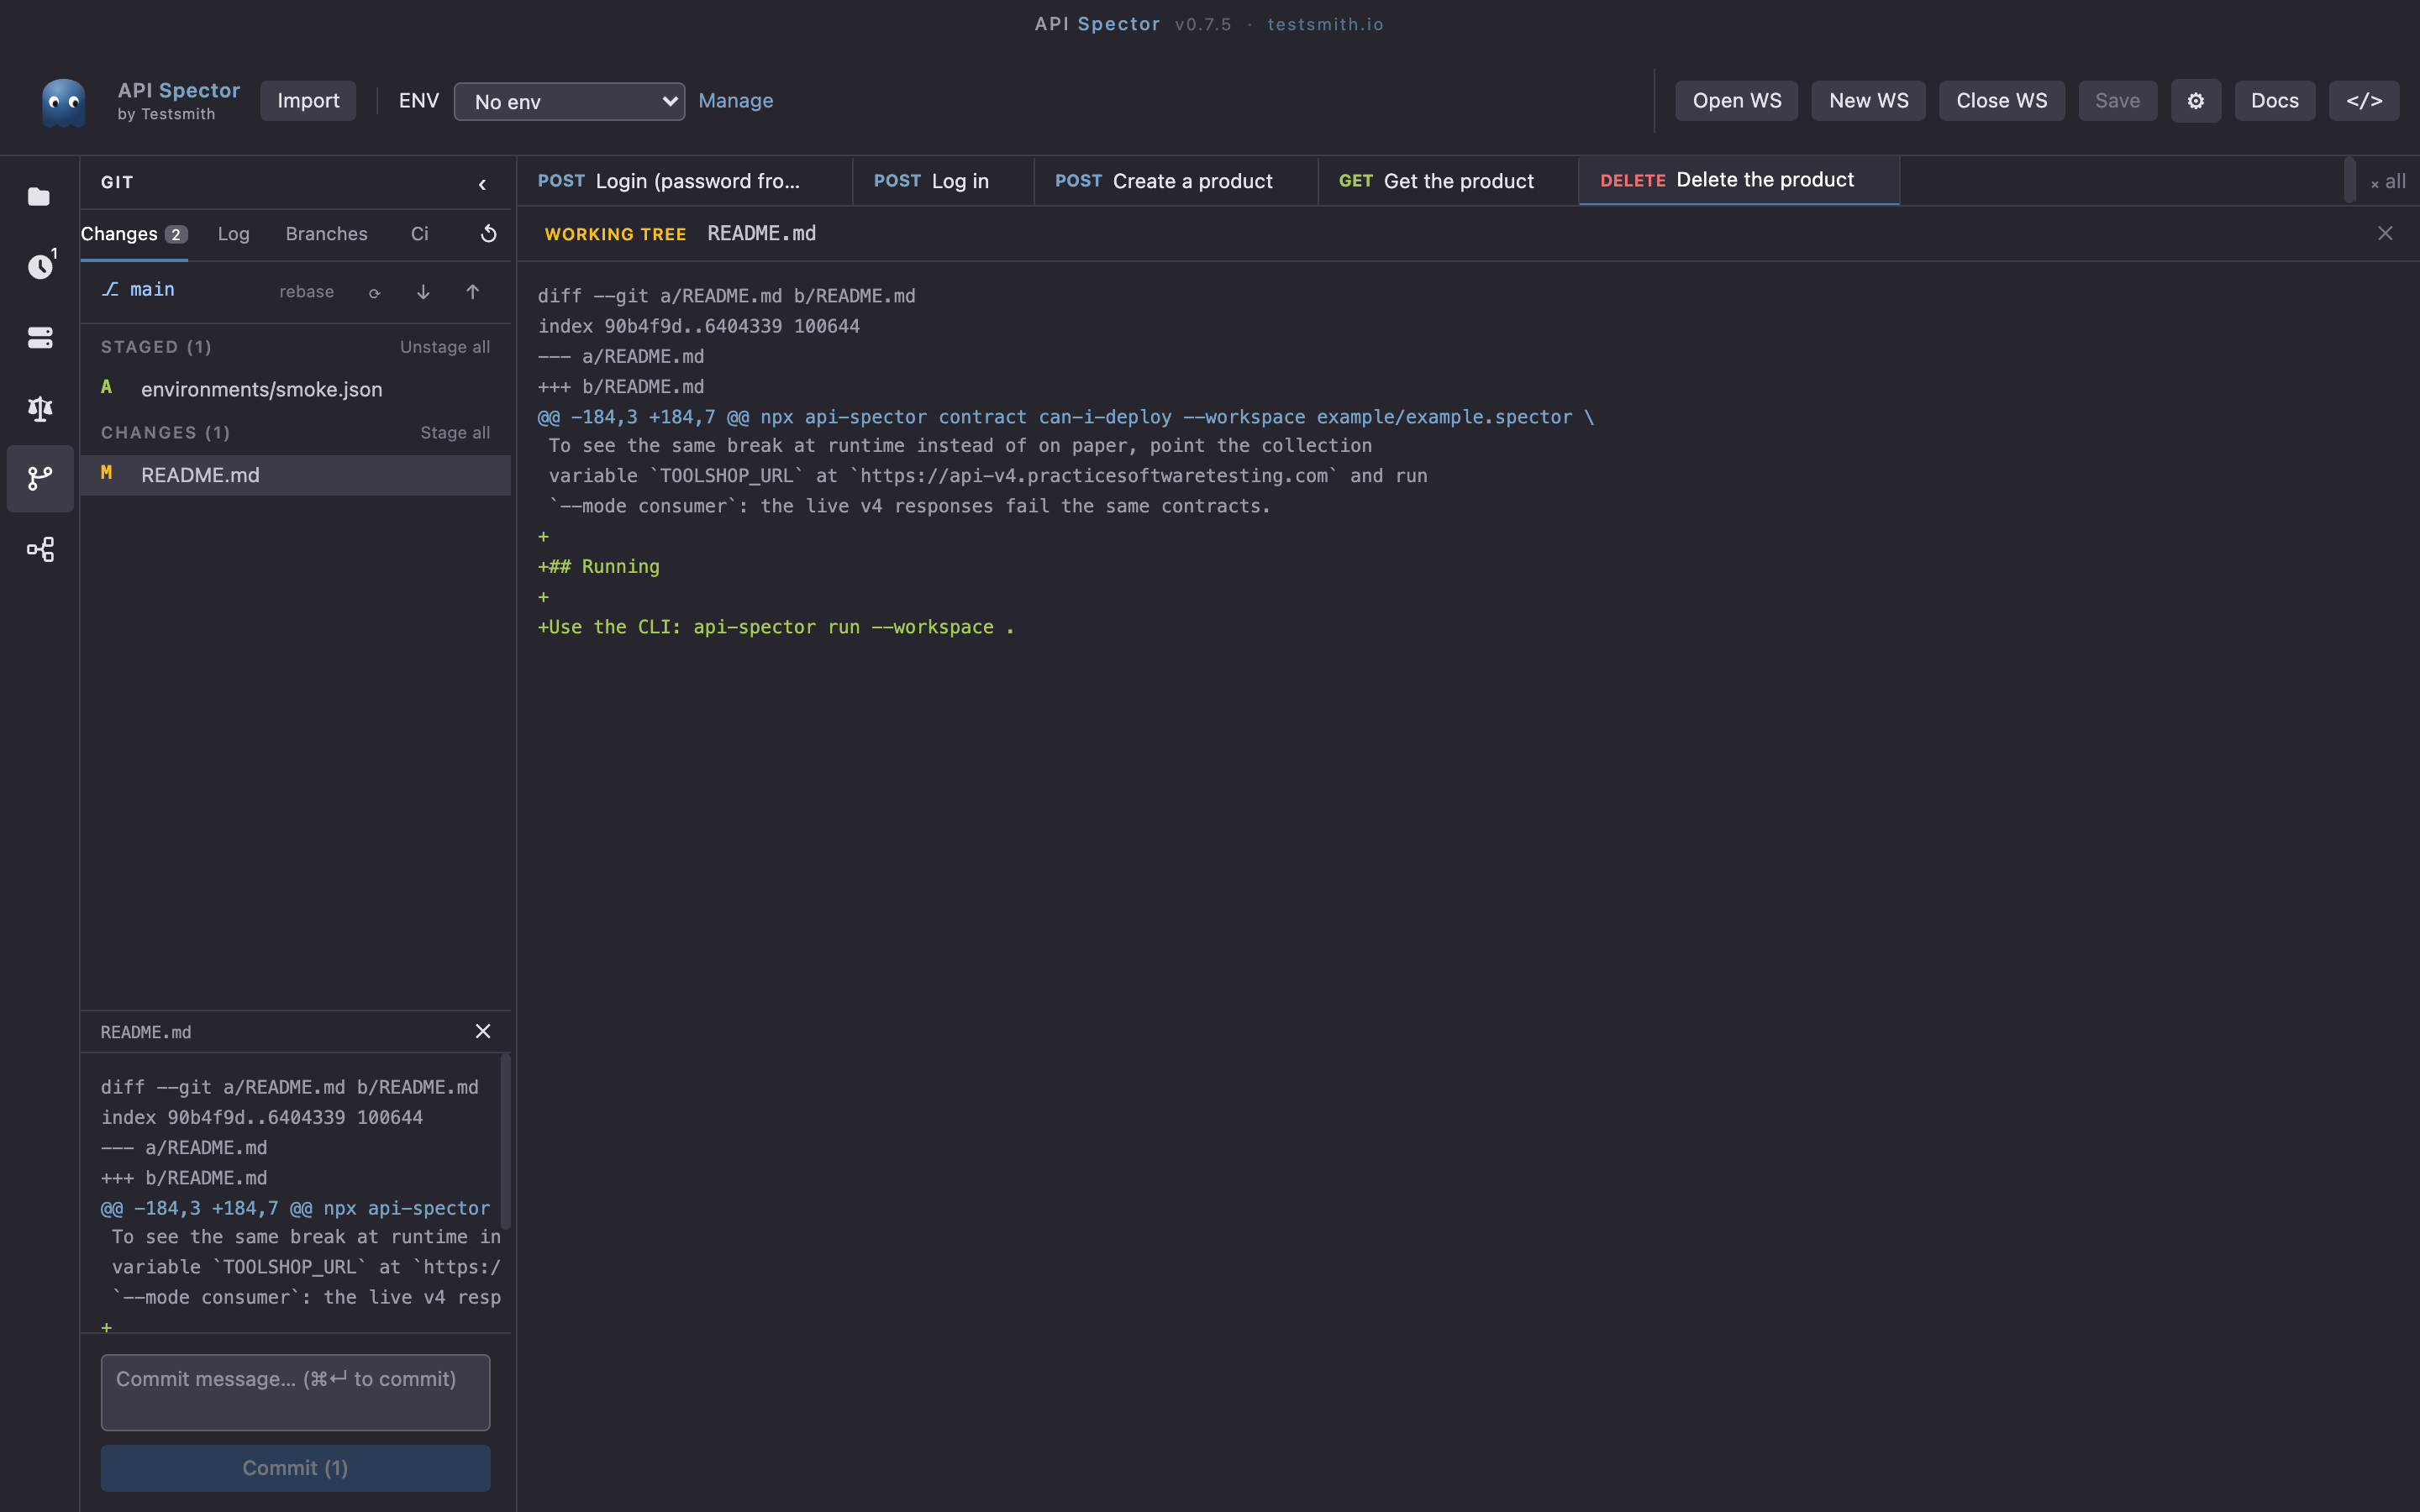
Click any changed file to see its diff in the main pane, so you can read exactly what changed in a request, an environment, or a mock before you commit it.
4. Commit and push
Write a message in the commit box and commit. Then Push with the up arrow (it shows how many commits are ahead), or Pull with the down arrow to bring changes in, with an optional rebase toggle.
Branches and history
- The Log tab is your commit history.
- The Branches tab lists local and remote branches: check one out, create a new branch from the current one, or delete one.
- The CI tab detects your CI platform from the remote, so you can wire the workspace into a pipeline.
Why it matters
Because the workspace is files, your API tests version like code: branch for a change, review the diff, commit with a message, and push. The whole team works from one history, and you never have to export or copy anything out of the tool to put it under version control.